This week I am teaming up with some amazing bloggers to host a quick reflection of Goal 5 -Supporting Comprehension in Fiction: Understanding Plot and Setting.
Truthfully, this book had been on Amazon wishlist for awhile, but I never pulled the trigger on the purchase. I don't know why! Now, I can't believe I didn't have this book in my hands the minute it was published. The Reading Strategies Book is truly an incredible resource for teachers. It is practical, easy to use, and filled with great ideas that are easily implemented and great for students. I can't wait to make this book part of my daily practice in the classroom.
To catch up on our book study and all things Reading Strategies Book related click below:
- Intro & Book Set-Up
- Goal 1: Supporting Pre-Emergent and Emergent Readers
- Goal 2: Teaching Reading Engagement
- Goal 3: Supporting Print Work:
- Goal 4: Teaching Fluency:
Now, let's take a closer look at Goal 5
Supporting Comprehension in Fiction:
Understanding Plot and Setting

Why is Goal 5 important? Well, it is basically the heart of what makes reading enjoyable. The best reading happens when one is completely immersed in the text, lost in another world, and apart of a story that feels all too real. Naturally, we want all our students to experience this true magic of reading. But in order for this to happen, readers must know what is happening. They need to know the who, the where, and the what to fully understand what they read. Plot and setting are a pretty big deal.

Serravallo breaks down plot and setting into 4 parts and offers twenty-eight (TWENTY-EIGHT!) different strategies to support readers working on this goal.
- problem/conflict and solution/resolution
- retelling/summarizing (must be sequential)
- visualizing setting
- cause and effect (connecting events in the story)
Today, I want to focus on three strategies that I can't wait to use with my students this year in both independent conferences, guided reading, and general reading instruction.

5.3 Summarizing What's Most Essential
What is it?
This strategy focuses on summarizing what is most important in the story in order in a way that makes sense. It is ideal for levels E-K and fictional texts.
This is basically an introduction to a good fictional summary. I love the language Serravallo uses to explain a summary. She says, "Your summary should include enough information to make sense to someone who hasn't read the story before. That means you need to make it clear in your summary how one event led to another." This idea forces students to think about the most important events that are connected to each other, not simply part of the story.


Best Part:
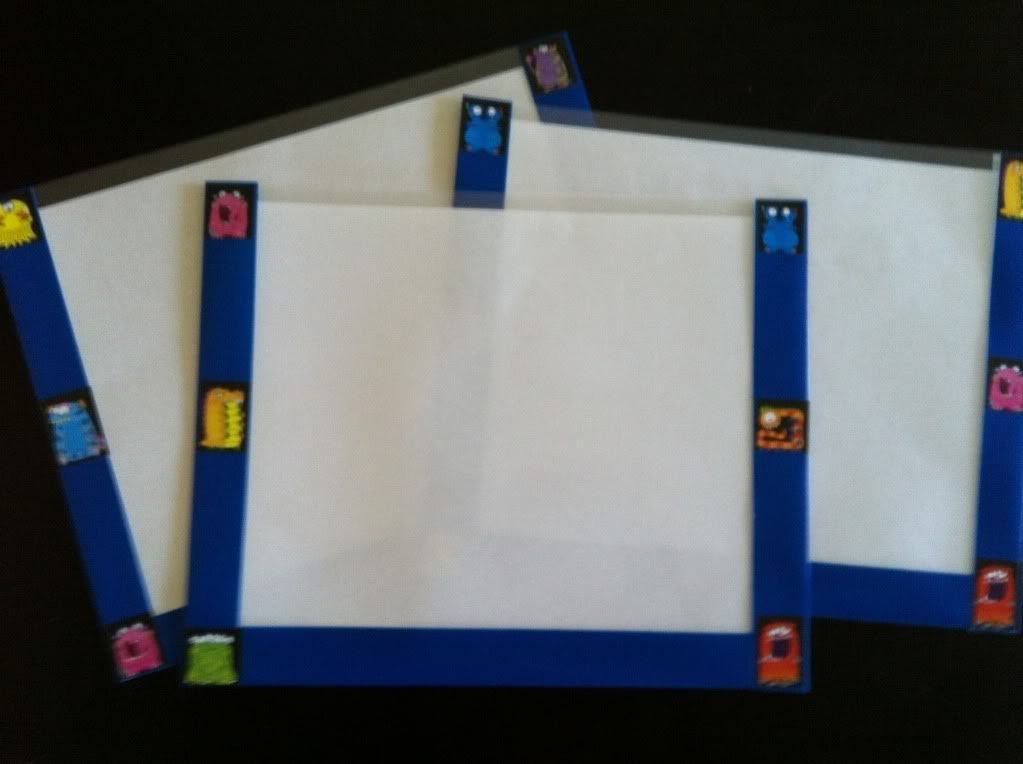
My favorite part of this strategy was the foldable idea presented in the book (shown above, The Reading Strategies book, pg. 136). It is a wonderful visual for students and serves as a practical guide for summarizing. I could see making these foldables with my small group as we talk about the important elements of a good summary. Then using this tool each time we finish a book or a chapter to help us practice. I can't wait!
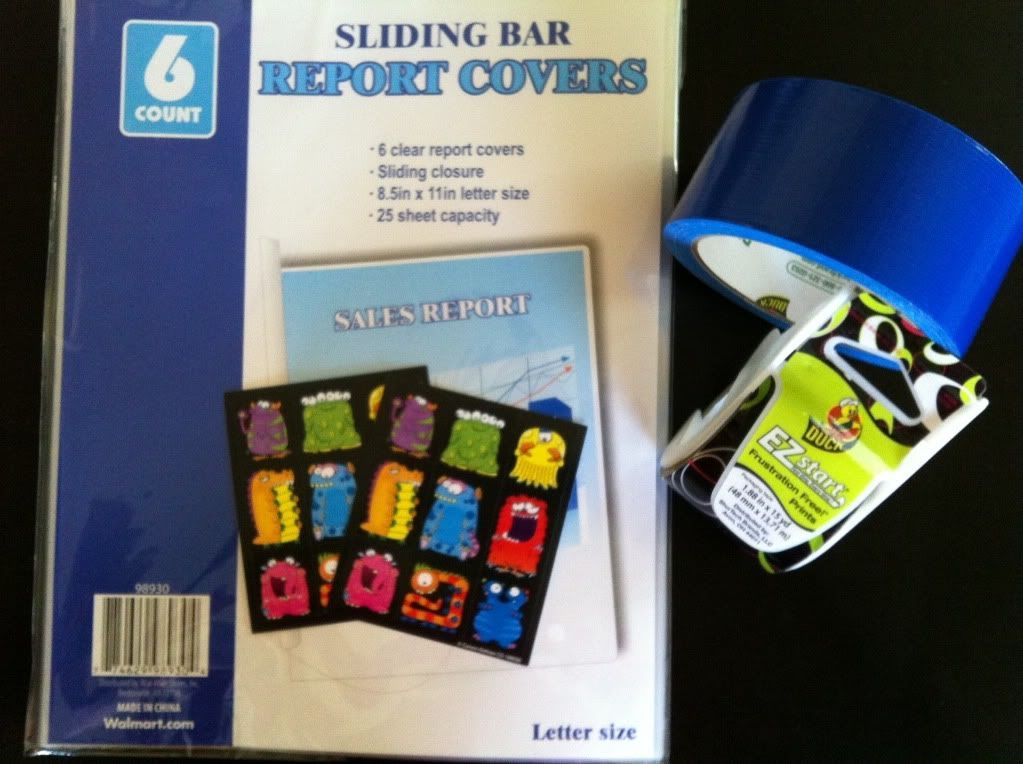
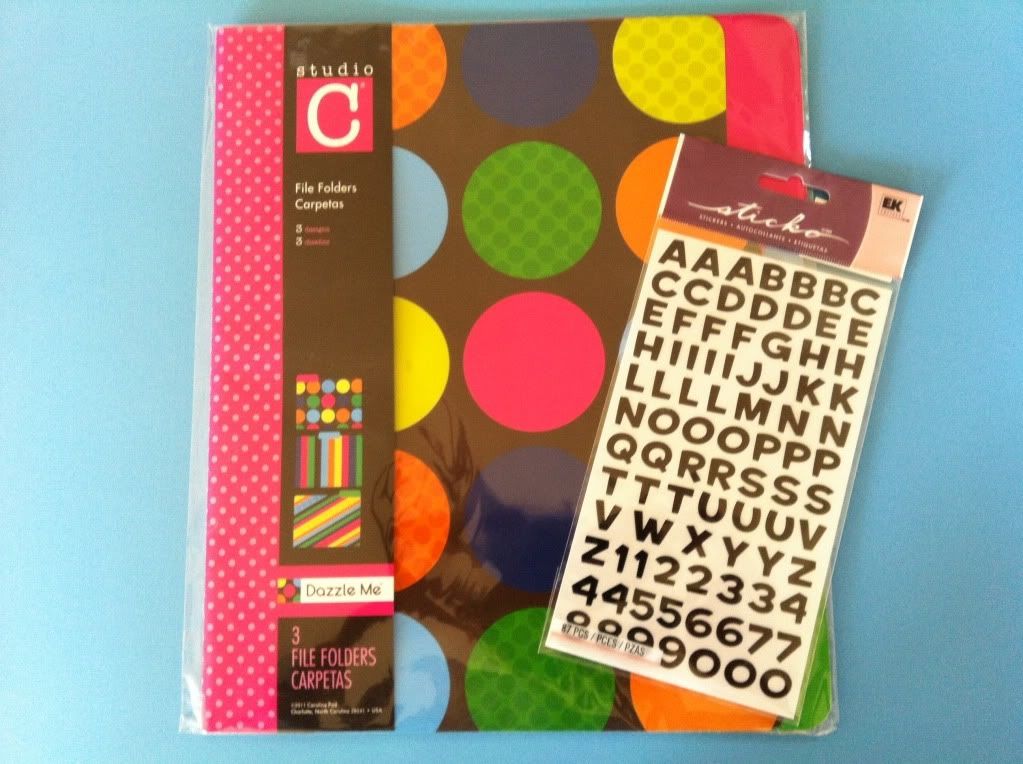
Now, I know you could easily recreate this with markers and colored paper, but I was so excited about this idea, that I created a template for my students to use to create their own.

 If you think you may use this strategy and would like to use my template, go for it! Click the pictures above to download it for free!
Now, I know you could easily recreate this with markers and colored paper, but I was so excited about this idea, that I created a template for my students to use to create their own.

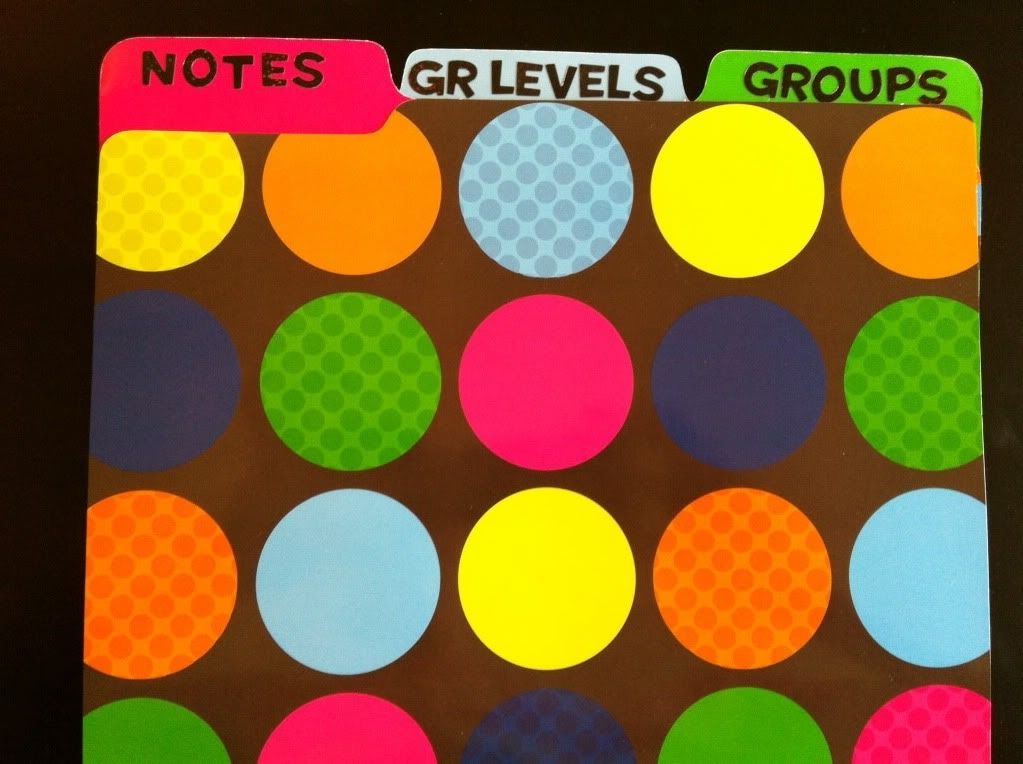
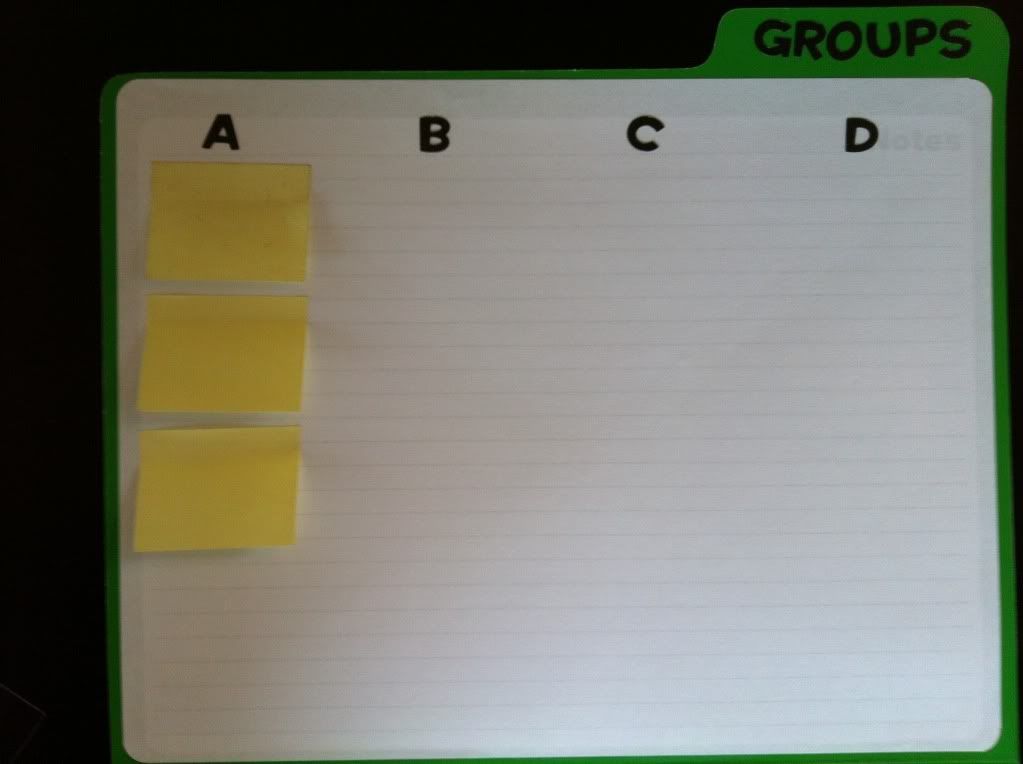
5.14 Chapter-End Stop Signs
What is it?
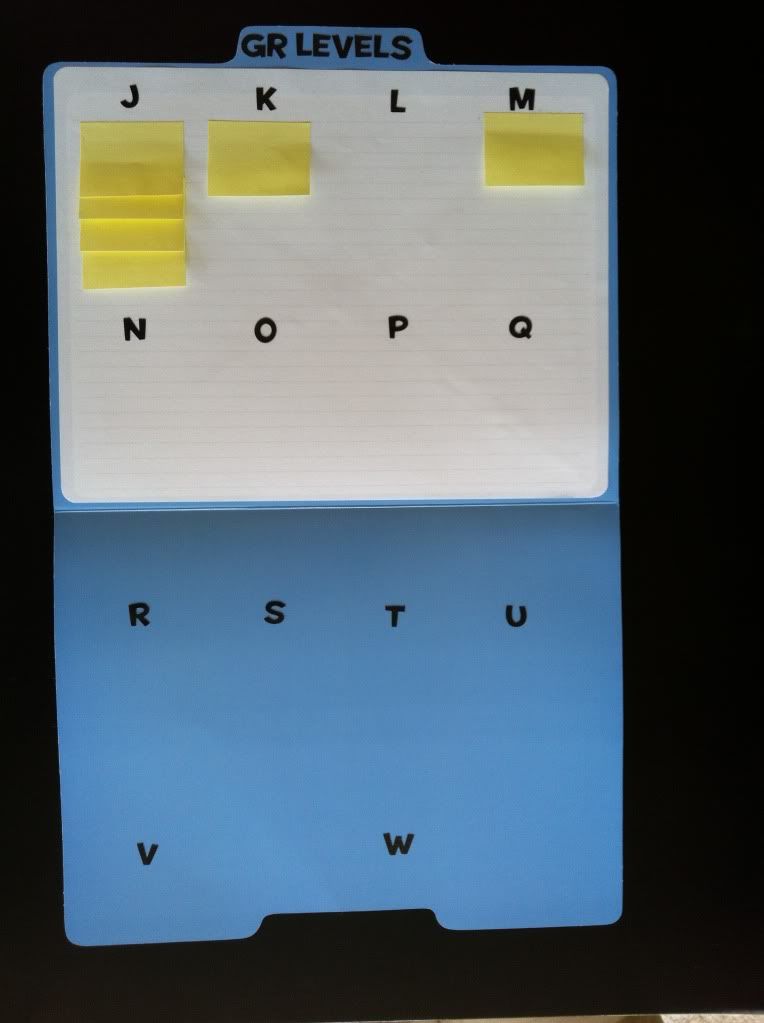
This strategy gives students additional practice finding the most important events in each chapter. At the end of a chapter, students simply stop and jot the most important event. Students can then reread their notes to remind themselves of where they are in the story. This strategy is great for kids reading level L and up.
It is also incredibly versatile. You could easily use post-it notes, bookmark, or notes page to keep track of big ideas in each chapter.
I've used them all, but I like the notes page best for independent reading/conferences and guided reading. I like to have everything all in one place and easily accessible. Kids simply fold the page in half, stick it in their books, and use their notes as their bookmark.
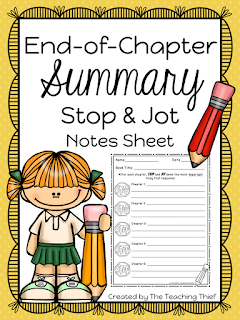
Click the image below to grab my End-of-Chapter Summary Stop & Jot Notes Sheet. It includes a two-sided fill in the chapter form and pages for chapters 1-47.
I've used them all, but I like the notes page best for independent reading/conferences and guided reading. I like to have everything all in one place and easily accessible. Kids simply fold the page in half, stick it in their books, and use their notes as their bookmark.
Click the image below to grab my End-of-Chapter Summary Stop & Jot Notes Sheet. It includes a two-sided fill in the chapter form and pages for chapters 1-47.
Best Part:
I love to use this strategy during read alouds. After each chapter, we pause and think about the most important event in that chapter. We write 1-2 sentences on a strip of colored paper and add it to our "Story Chain." I just tape the new sheet on to the old and we keep building on, always switching colors for each chapter. By the end of the novel, our "Story Chain" is almost touching the floor!
This is a great way to help students keep track of the "important stuff" as we read and serves as a jumping off point the next day when we return to our book. Plus, it create a pretty fun display in the classroom. I really wish I had a picture to show y'all, but (of course) I can't find a a single one. Follow me on Instagram and I will be sure to post a picture this upcoming year when we start again. :)
This is a great way to help students keep track of the "important stuff" as we read and serves as a jumping off point the next day when we return to our book. Plus, it create a pretty fun display in the classroom. I really wish I had a picture to show y'all, but (of course) I can't find a a single one. Follow me on Instagram and I will be sure to post a picture this upcoming year when we start again. :)

5.24 FQR (Facts/Questions/Response)
Sheets for Filling in Gaps
What is it?
This strategy is helpful when you are reading a book that is a bit confusing. A FQR Sheet is any simple three column chart with a column for facts, questions, and responses. I have known about FQR charts for what feels like forever, but I always associated them with non-fiction text. Turns out, they are great for fiction too! FQR charts are a great way to help readers on levels Q and up develop a better understanding of complicated plots.
Best Part:
I love that it is a new way to use this old idea. Recommended for when you are reading a more challenging text that is set in imaginary places or historical times, this strategy helps the reader take stock of what they DO know and what the NEED to know to better understand the text. I can think of so many books this would be great for: The Westing Game, City of Ember, The Fog Diver, Sky Jumpers, The Lost Planet, etc.
********
These are three of my favorite strategies from this chapter, but I flagged many more in my book. I hope you find these ideas as helpful and inspiring as I did. I'm just itching to get started.
Thank you for joining my for a quick look at
Goal 5: Understanding Plot and Setting.
Have you read The Reading Strategies Book?
Do you already use it in your classroom? Tell us more!
We would love for you to share your knowledge, ideas, and expertise with us.
Do you already use it in your classroom? Tell us more!
We would love for you to share your knowledge, ideas, and expertise with us.
Comment below or link up your blog to join the conversation.
Thanks for reading!